Dining table complete

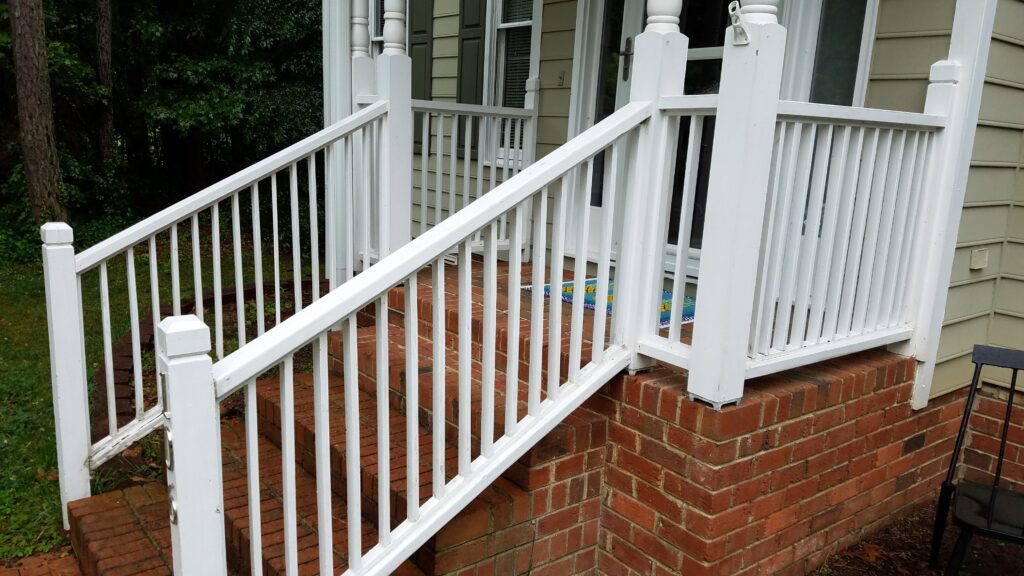
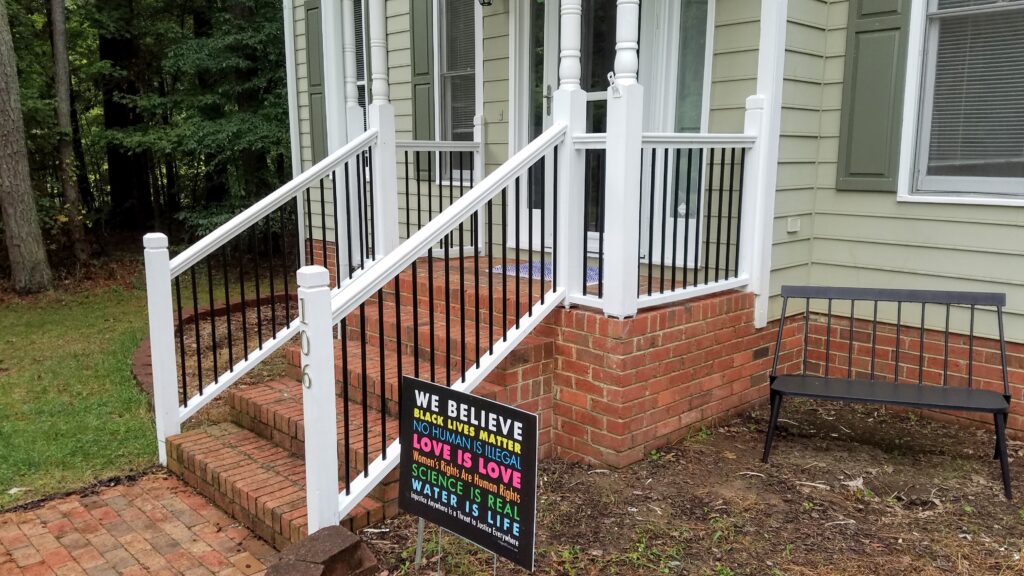
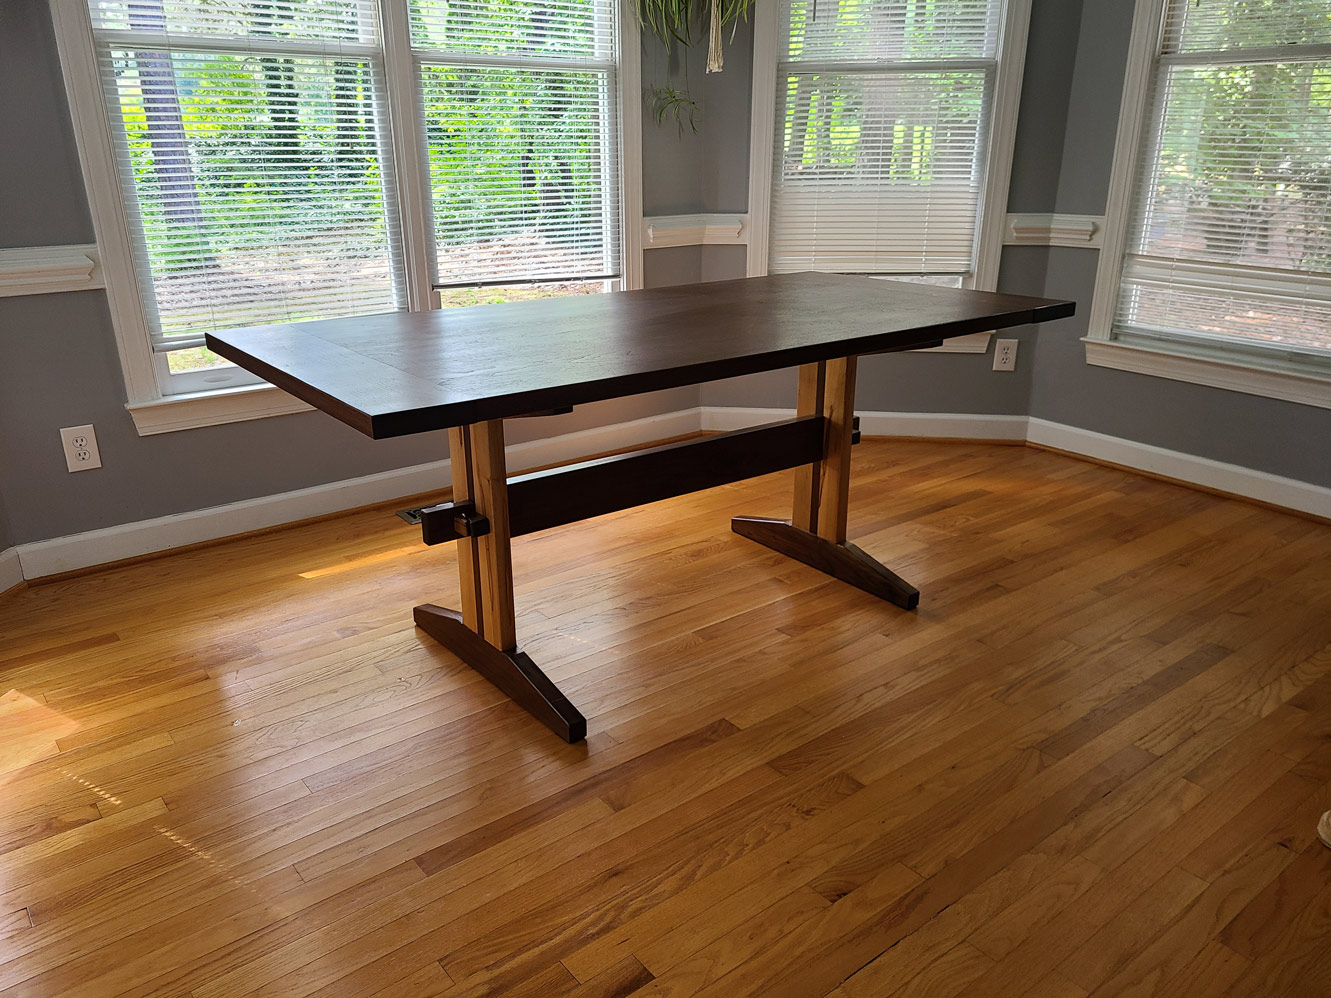
This was a significant, ongoing project that took approximately 5 months because of my lack of time to work on it. Throughout the process, I learned innumerable new techniques and skills – and made mistakes each step of the way in order to learn those things.

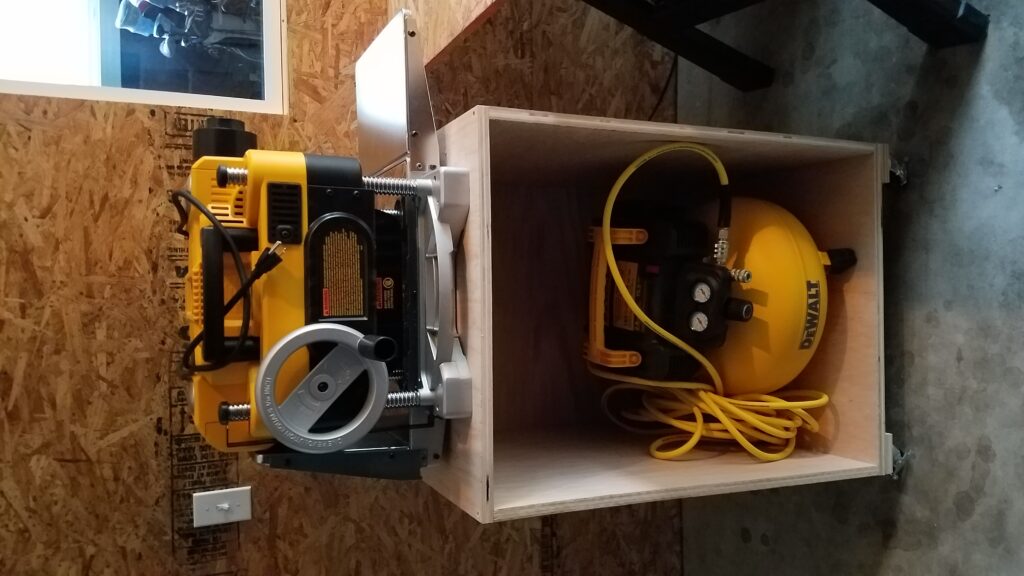
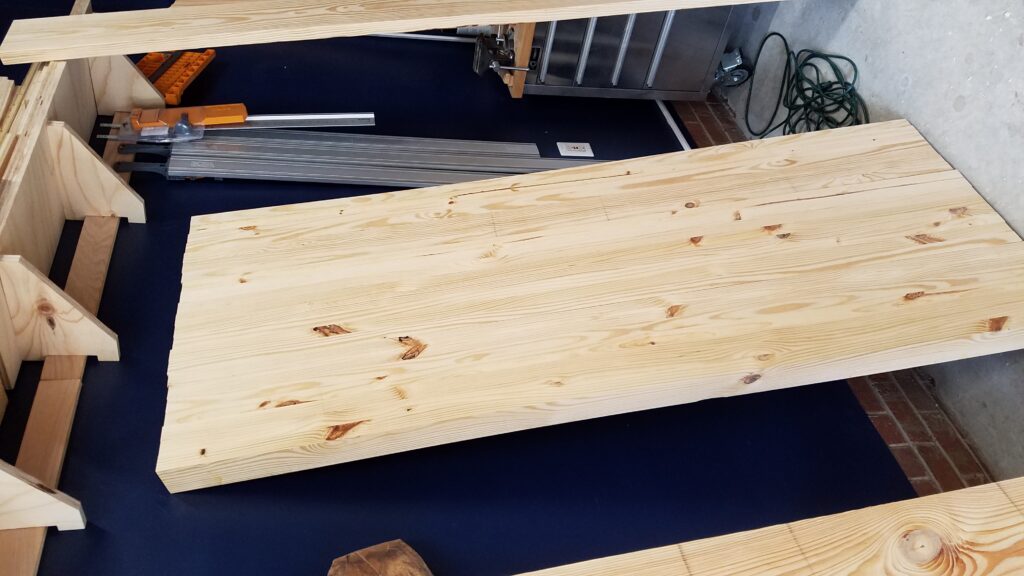
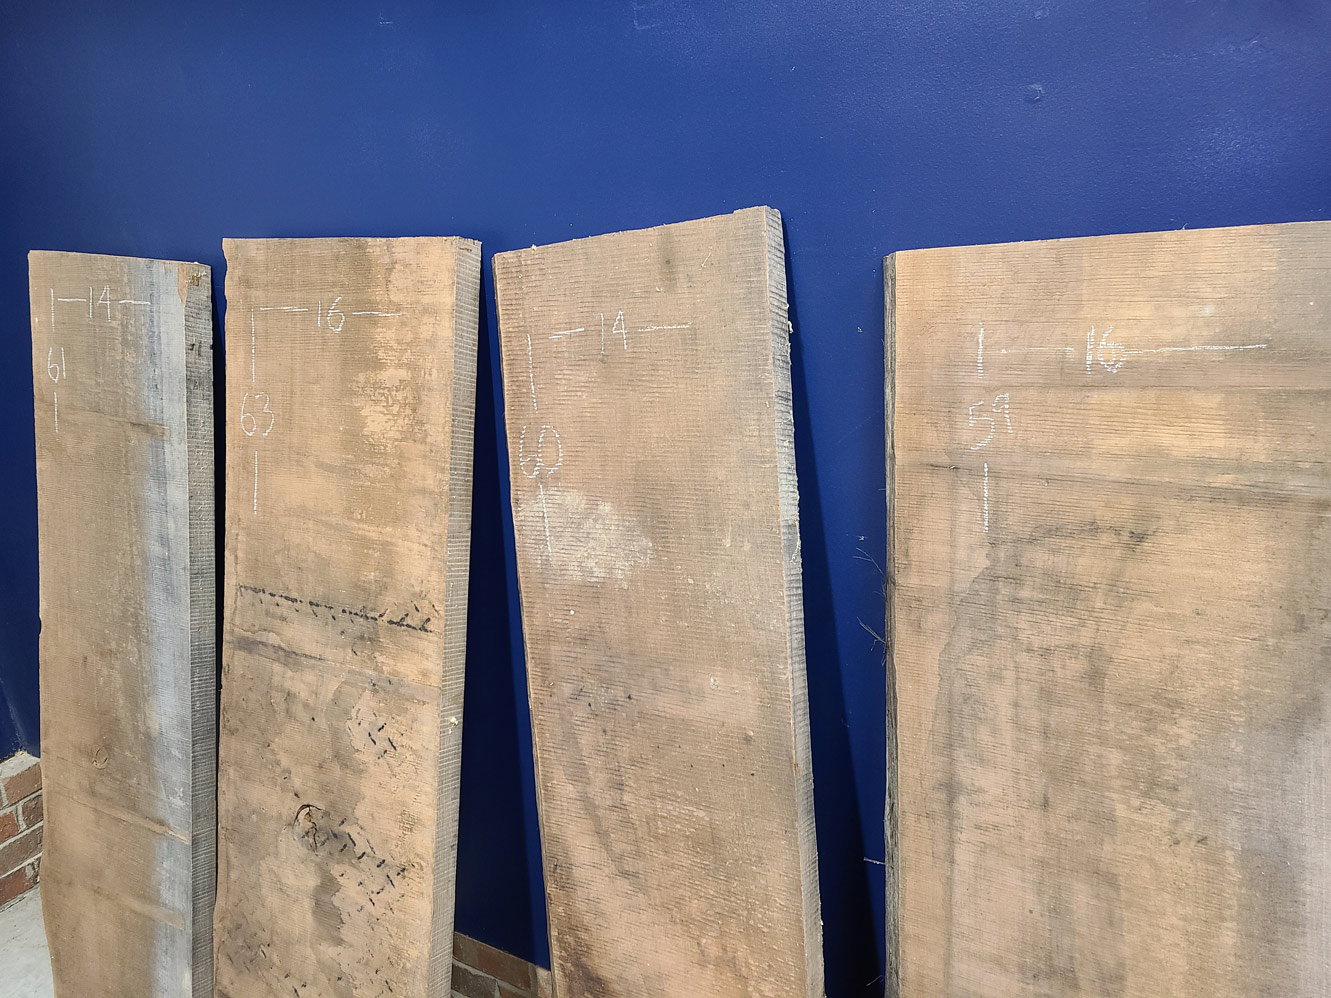
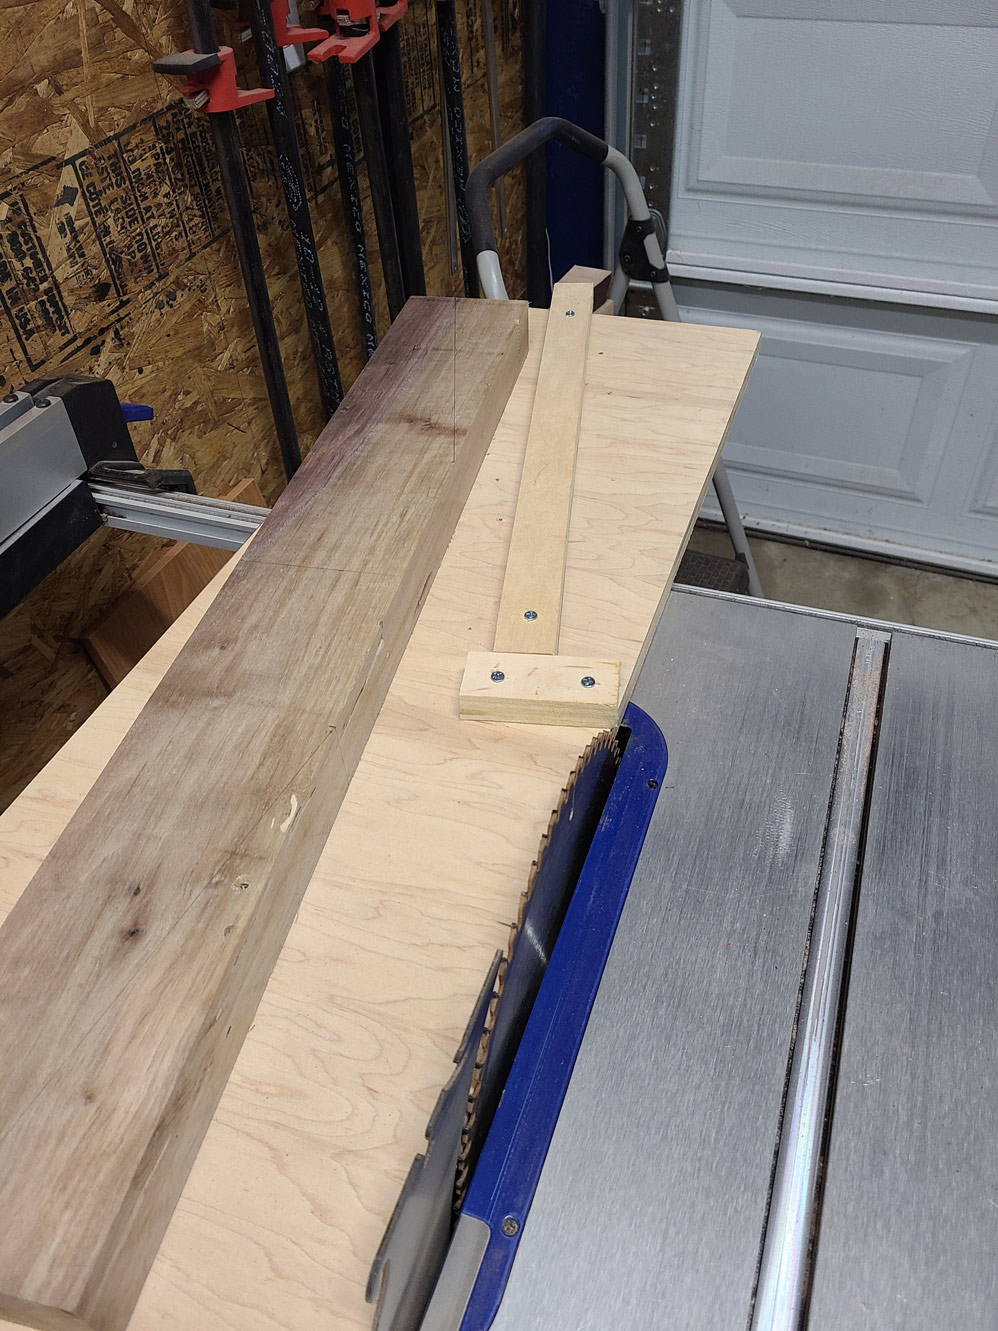
It all started a couple years ago when my wife and I went to a random cleared piece of land where a guy was selling some boards he had rough-sawn and let dry in a stack. We picked through it and got the best looking black walnut we could – as well as a piece of fire maple. In the future, I’ll likely never start with such rough stock again – as it took ages to mill (plane, joint). Each board was cupped or twisted in a different way and required a custom adjustment to a sled that I fed through the planer to get it as flat as possible.

Planning how to approach things with rough sawn lumber

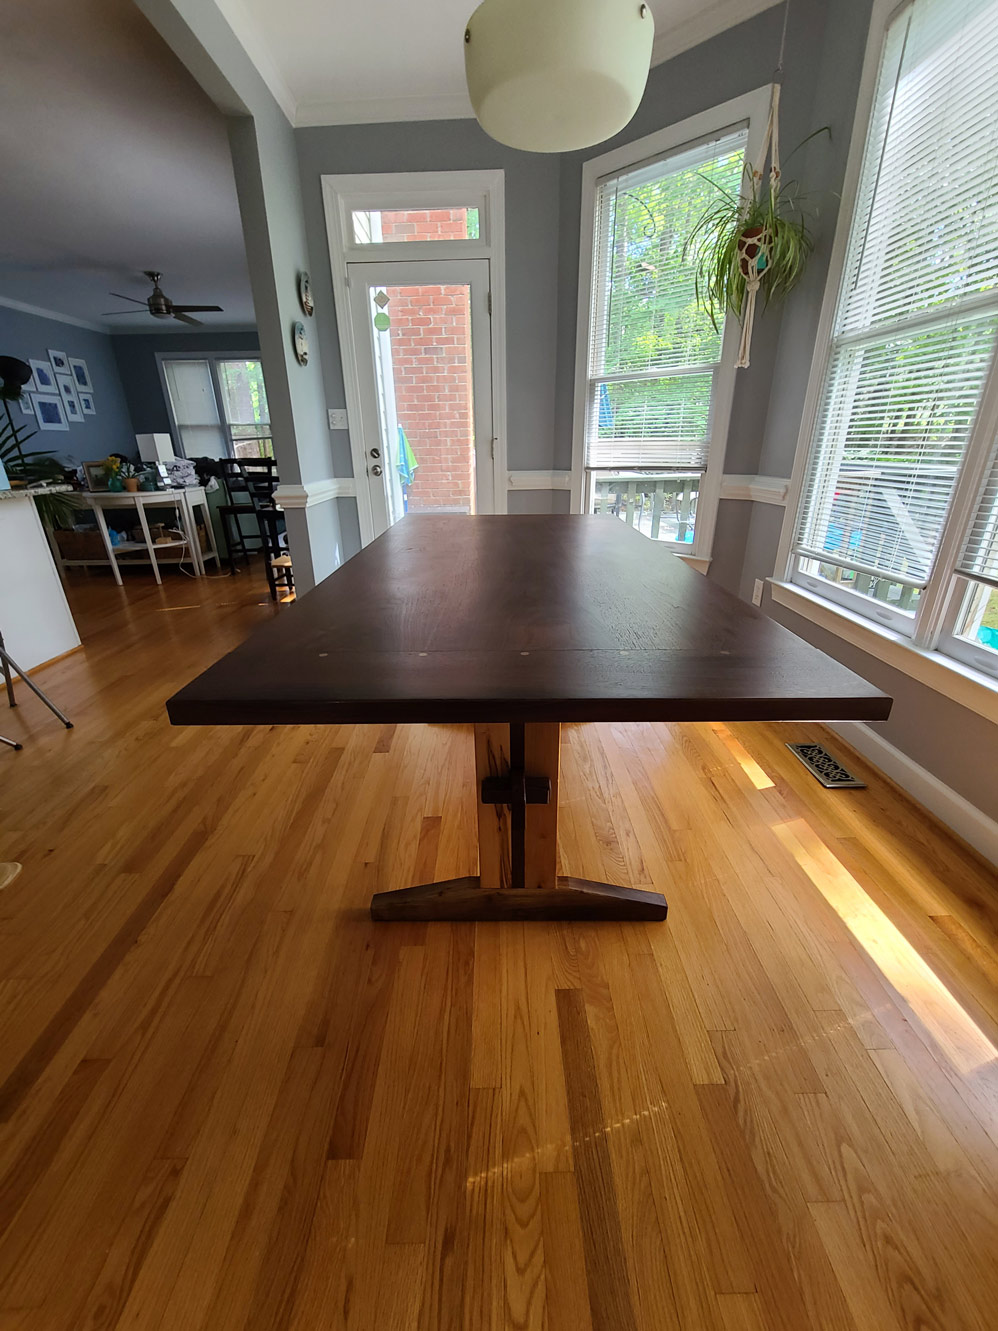
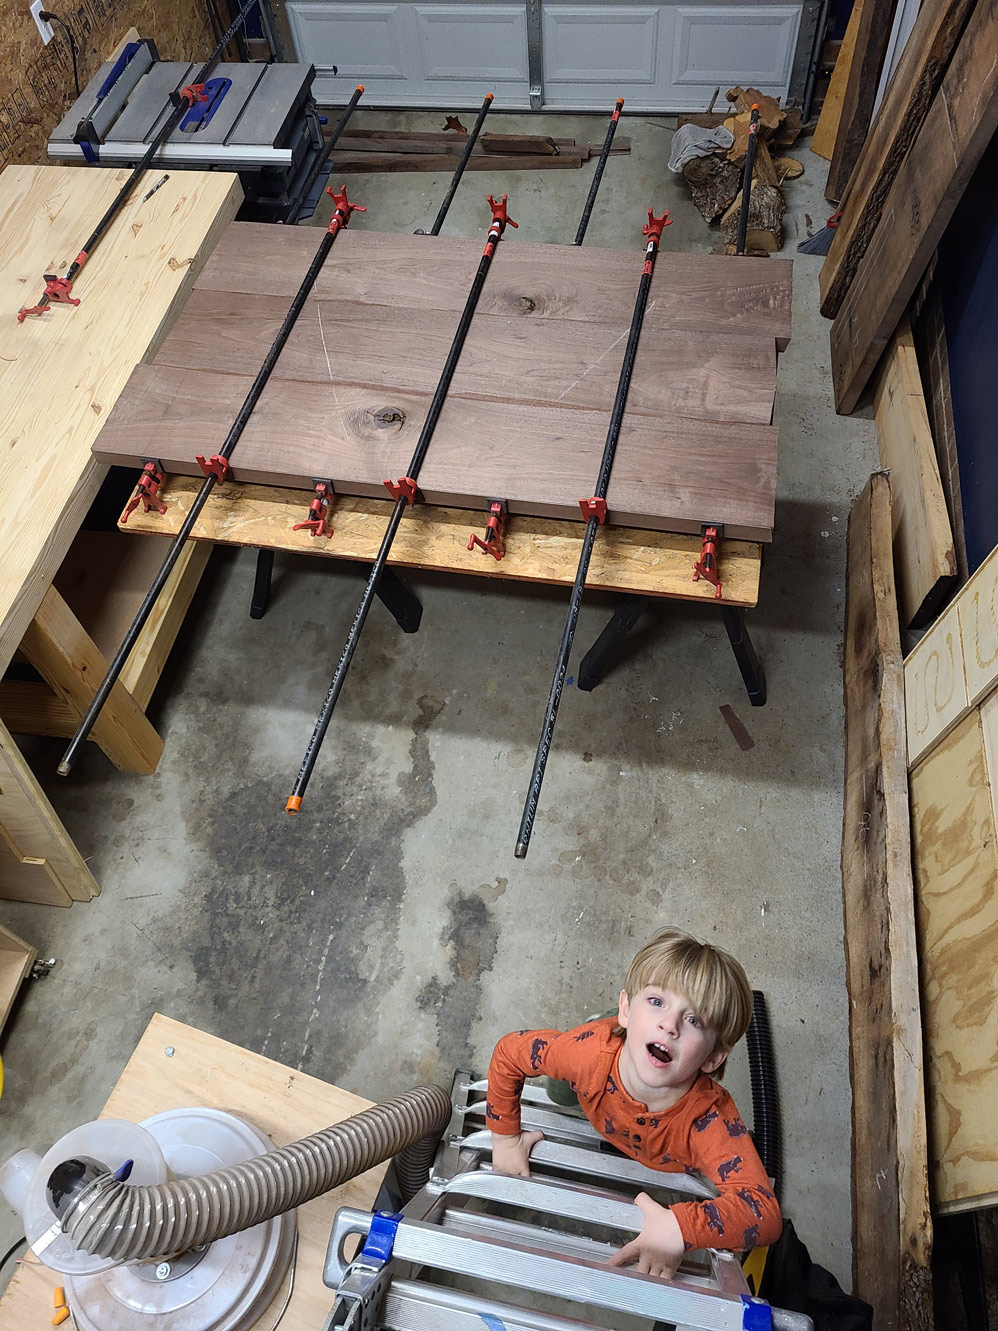
Finally after buckets of material removed, I was able to glue the 3 main boards together that would make the table top.

Initial glue-up. Also pictured, new workbench (left) and resident ladder climber (bottom)

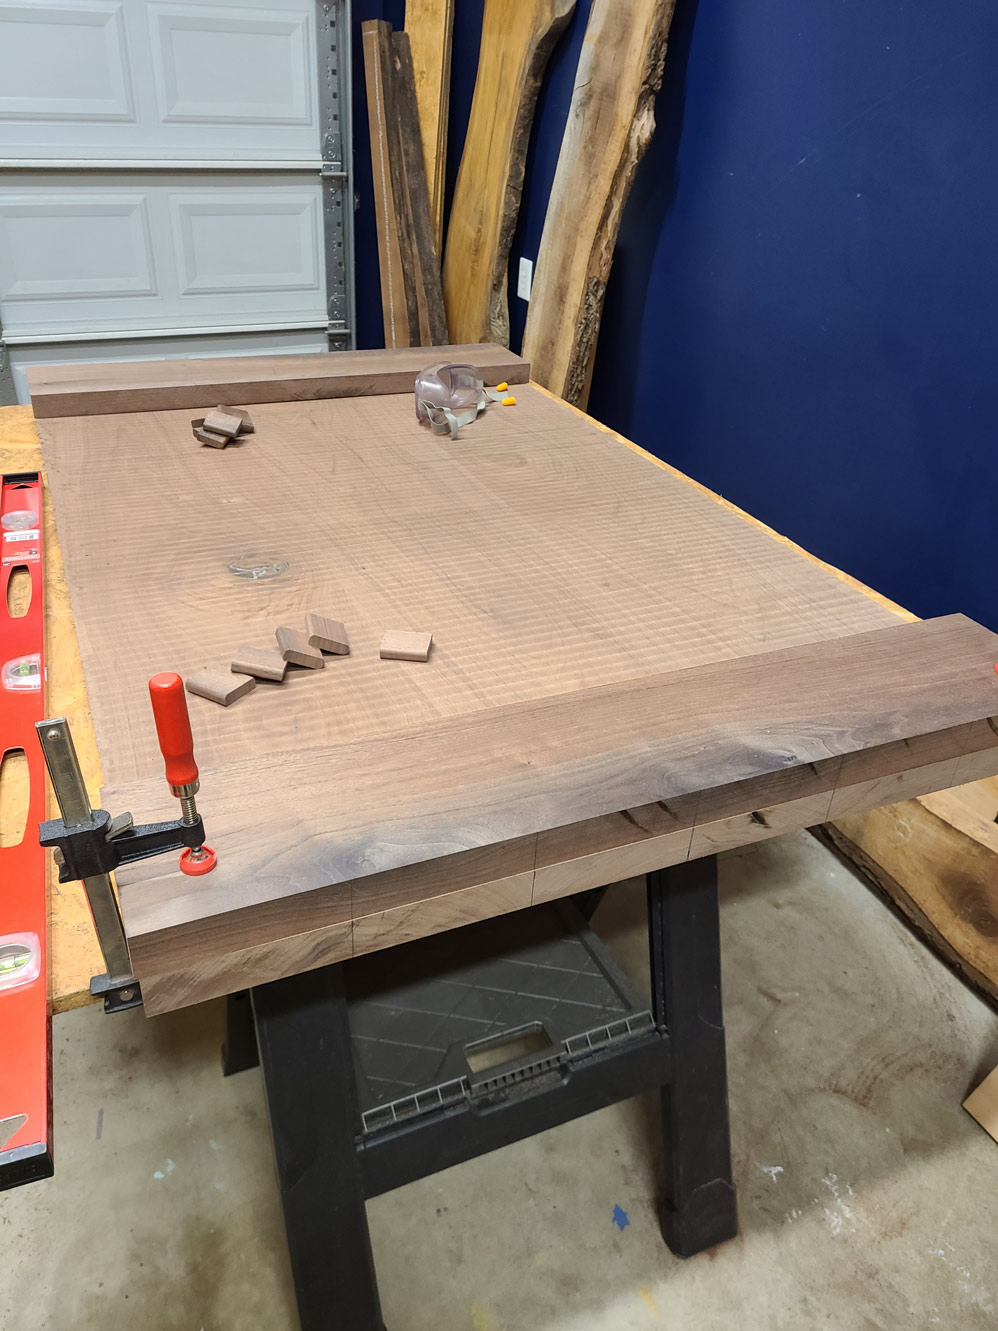
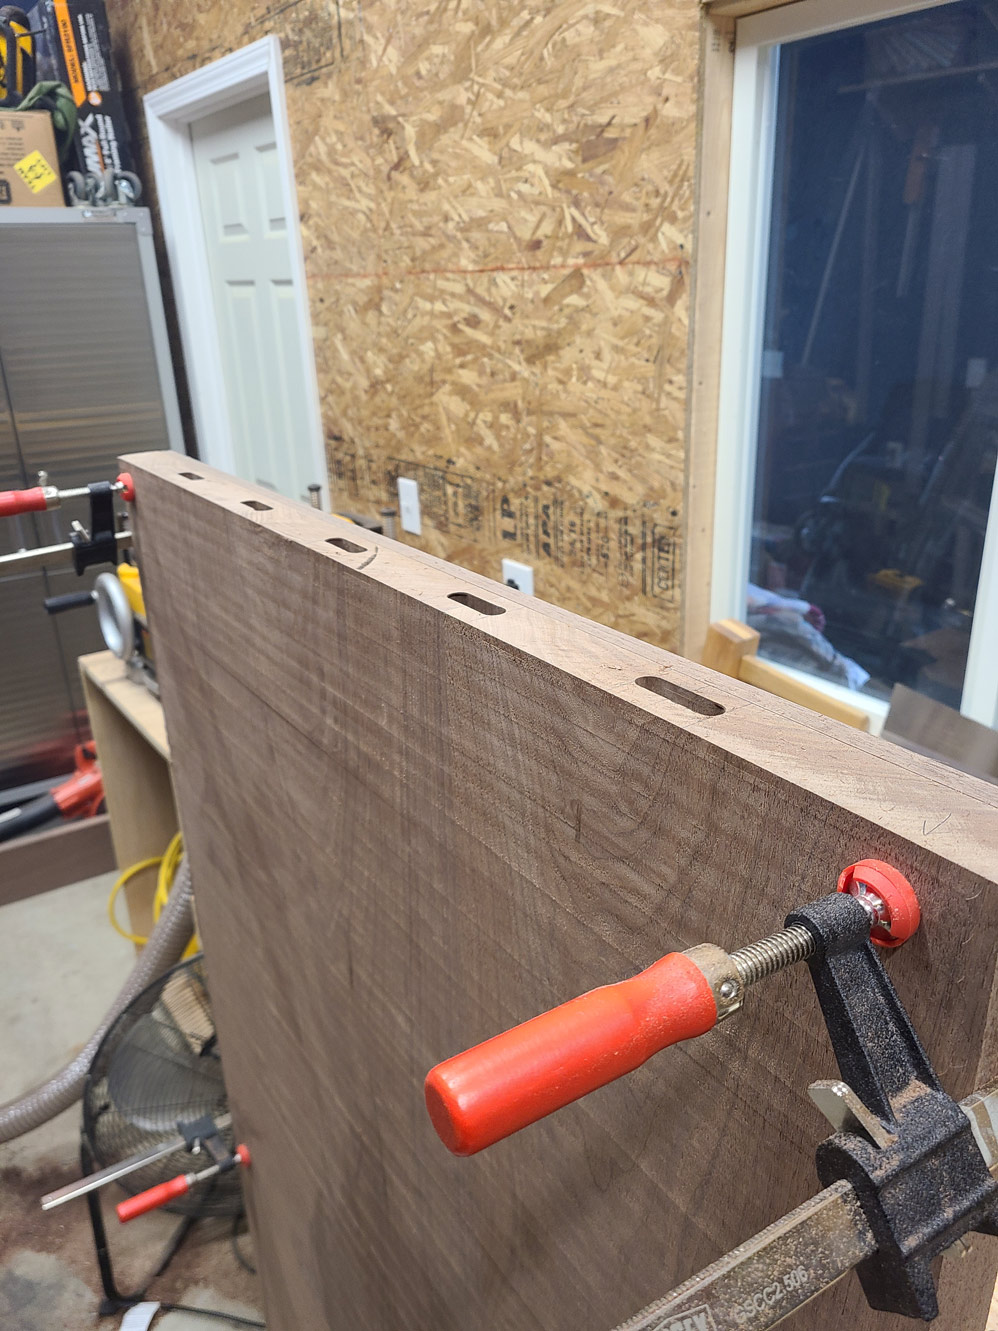
The stock I had was barely enough to make the table at the size we required (now with 3 kids). I ended up adding breadboard ends, not just for stability, but because I couldn’t get ~6ft of length without them 🙂 The process involved creating 2 inch rounded floating tenon biscuits made from walnut and then routing mortises in both ends of the table, as well as the breadboard ends. After things slid together well, I drilled holes in the top of the ends and then correlating holes in the tenons that were 1/16″ offset in order to draw bore the pieces together. I then hammered 10 pegs into each 1/4″ hole and the offset nature of the hole naturally pulls the breadboard ends against the main table. In addition to this complexity, I needed to account for seasonal wood movement – so only the middle pegs on each end were glued – the rest of the tenon holes needed to be oblong by an extra 1/16″ on both sides to let the table expand in the summer and contract in the winter. (Hope that works out)

After the top was complete – I created the two supporting legs and stretcher that would be secured by through tenons with wedges on both sides.

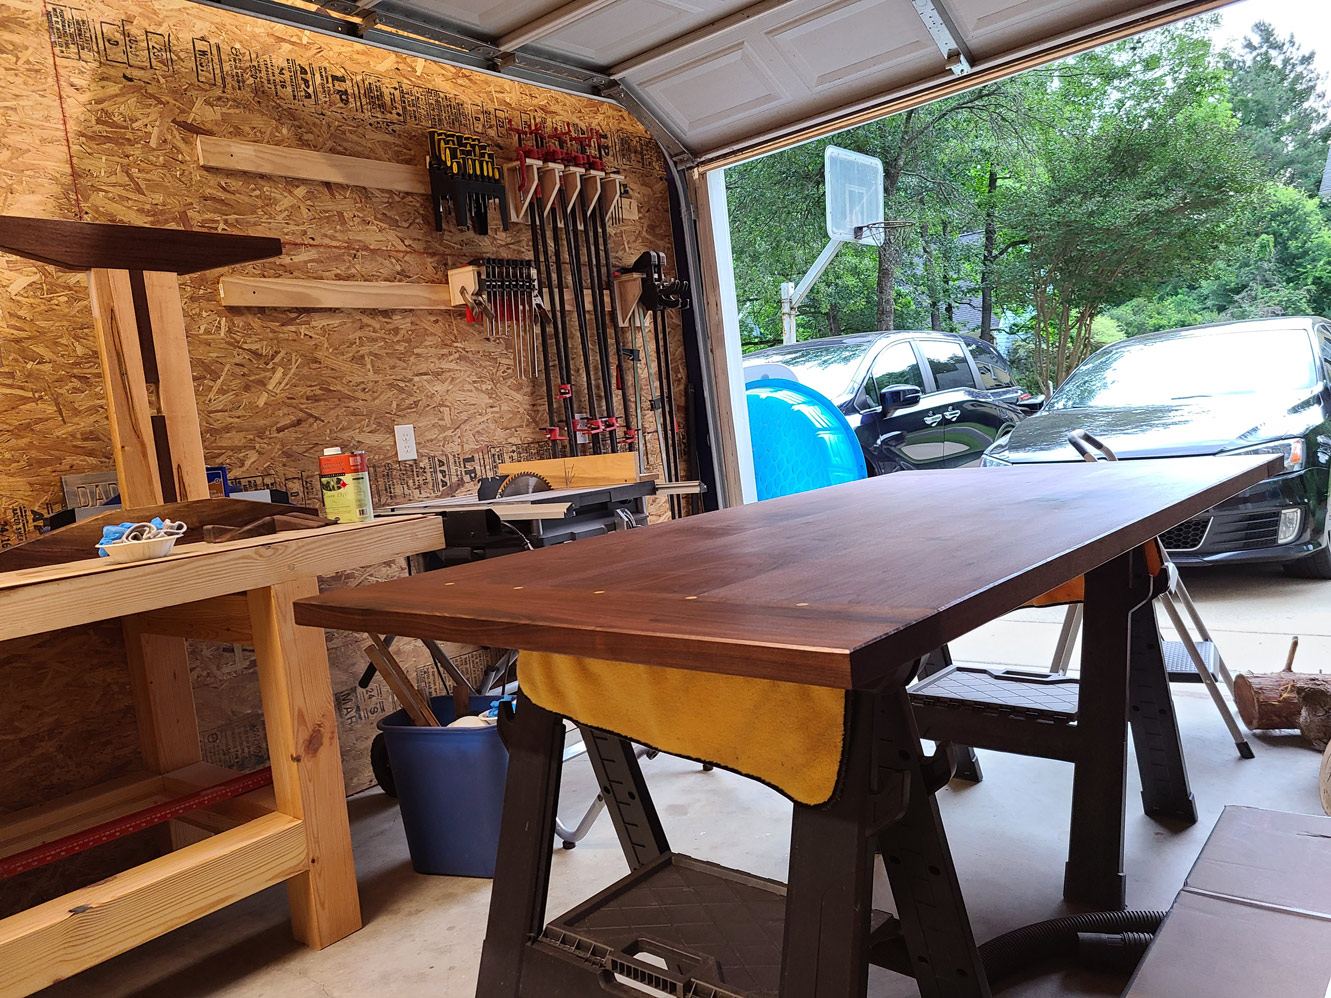
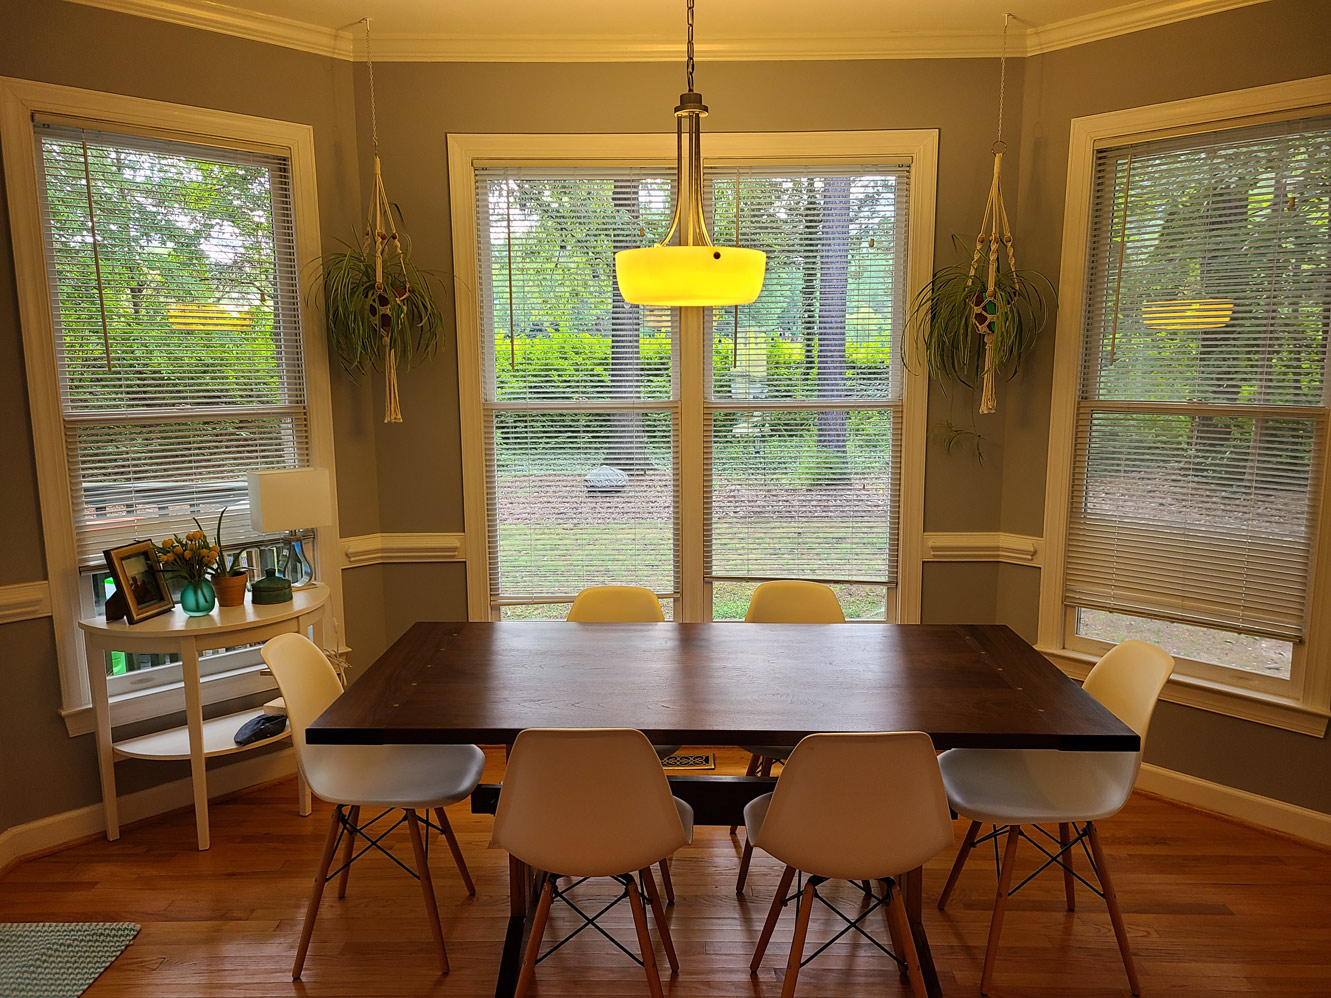
For the finish I chose Waterlox. I wanted the surface to look and feel like wood and not like it had a plasticky film on it like poly or lacquer tend to have. This is a stronger alternative to just oil as it has a wax/urethane mixture that penetrates the wood surface and hardens. Unfortunately it wasn’t hard enough as Oliver and Amelia have already bashed dents in it with their milk cups (they know I don’t like it) – oh well.

I made a bowl – on a lathe – finally

Finished product

My wife thoughtfully gave me credit for the Sawtooth School in Winston-Salem. I’d been wanting to try turning on a lathe for some time and didn’t want to take the plunge and buy one until I knew if I’d like it. Turns out it’s pretty fun (pun intended). I used half of the credit on a beginner bowl turning class and learned all the basic techniques including how to operate the lathe (safely) and how the wood behaves with different tools and situations.

Work in progress

Back in the Workshop

Three years and two more kids later we’re back doing some work in the shop. I thought I was too busy to post here with 1 kid (who’s now 2.5 yrs old) and now my wife and I have twins as well. I decided to say screw it and not wait for life to settle down again (because it probably won’t).

Amelia and Oliver

I haven’t abandoned the garage completely in that time. Admittedly I’ve had small projects here and there and some home improvement tasks to complete as well, like these new railings in front of the house (credit to wife for indispensable help).

Before
After

The workshop itself has received some basic quality of life improvements like a rolling cart for the planer and air compressor, some french cleats to store clamps, tools, and random wood boards, and a new workbench that should finally be complete soon. Stay tuned for that.

Finally clamping the bench base together

Garage Reorganization Part 2

So I know I mentioned that Part 2 of this post would display the final vision for the garage (which is now the faux basement and workshop) but that’ll have to wait for part 3. Since April we’ve been busy framing, drywalling, wiring and, oh yeah, having a son.

Elliott Theodore Hawkins

Anywho, when last we left I was in the process of organizing the clutter in the garage so I could clear some space to build the wall. I abandoned that initiative after sorting out the entryway side of the garage and decided to begin work on the partition.

After buying a bunch of materials from Home Depot and renting a truck to get it all home, I was ready to begin. I feel like it’s important to state at this time that none of this entire project was completed by me alone. It never would’ve been finished without the help of friends and family and am really grateful to all who contributed their time.

First things first – I had to anchor a bottom plate to the concrete floor to begin the framing. After several trips to the the store, renting a hammer drill, buying the wrong screws, and liquefying a carbide bit I finally manage to lay a good foundation for the rest of the work to come. I enlisted the help of my brother Peter to help get the basic framing complete and window installed and this satisfying part of the project was complete in a day.

Stick built framing and window installation (Thanks Pete)

I have to say the project in its entirety (especially as it was all new to me) was pretty daunting, but every completed step reinvigorated my drive and strengthened my resolve.

The next step was to attach drywall to the entryway side of the garage. This would never have been finished with my sanity intact without Jessi’s help. Part of the challenge that became quickly apparent was the the header bowed in the middle about 1″ and the floor sloped away from the house about 2″ overall (good for moisture, bad for square drywall measurement. In the end we got it done.

Yes there are some small cuts but I’ll be damned if I’m going back to the store for another full sheet

Now we officially had separation and a good idea of what the final feel would be. As an added bonus, you could no longer see the cluttered mess in the shop unless you deliberately went in there (and opened the garage door because there weren’t any lights…. YET)

All credit for the next phase of construction goes to my father in law Bruce – master electrician (we only melted a little bit of the Romex wiring). It was decided – by me – that we needed two important improvements to the new shop straight away. We needed more power (two new circuits – three total) to handle running whatever equipment I wanted without tripping breakers, and ample lighting to be able to work in the garage comfortably even with doors closed. After more trips to the store for surface mount raceway parts than I’d like to admit (or can remember) we finally had 3 new 4′ LED lights on the ceiling and 4 new outlets on the newly constructed wall.

Let there be light
Tidy cable management

After finishing up the electrical work, the last thing to do was close up the wall on the shop side. I chose OSB (chipboard) for the flexibility of mounting options it would afford and general durability. Having received a guide attachment for the circular saw no more than 1 week prior for my birthday, I was ready to complete the last major part of the wall.

As I mentioned before, there isn’t a single stage of this work that I take sole credit for and the OSB mounting was no exception. My buddy Ryan generously contributed his time one Wednesday after work to help out. It took us until close to midnight but we got it done it turned out looking great.

Cutting holes for all of the outlets was a trick, but we managed

Now that both sides of the wall had board on it, I could finally install the pre-hung door. It required a good bit of shimming but in the end it’s pretty balanced and it works so I’m pleased.

It’s just a door – but it’s my door

With Elliott coming into our lives any day – we decided it would probably be best to build some legitimate stairs and stop use the stepladder we’ve been using for the last 4 months. Jessi assisted with measurements and recommended the risers and it looks good.

This was refreshingly simple

While reflecting on the whole experience, I realized I learned a lot along the way and am thankful to all who helped out. Part 2 was a significant undertaking and Part 3 will be fun to show off cosmetic improvements including paint and trim, as well as actually beginning to organize the shop into somewhere I can work. Check back in another few months 😉

Garage Reorganization Part 1

So for the last couple months I haven’t posted anything here because my wife and I have been revamping the entire garage. This involved tearing out two whole walls worth of bulky and inefficient wood shelving that turned our already meager 2-car garage footprint into more of a 1.5-car space.

After a weekend of demolition (including demolishing more drywall than I would’ve liked) and removing approximately 300 nails from our now swiss-cheesed studs, we used 2 tubs of spackle to patch up what we could.

My poor pregnant wife slaving away

After painting all of the walls, ceiling, doors and window trim we could move onto finally organizing all of the mess that had since been piled in a heap in the middle of the garage.

This is some of the junk (prior to piling in the aforementioned central heap)

Finally we could begin the process of reorganizing and consolidating as much as we could to maximize our available space. Part of this process involved setting up some more purposeful shelves and wall mounting.

This took up almost twice the amount of space with the old bulky shelves

Finally today I’ve been able to finish the portable wood storage cart and load it up – condensing a massive amount of scrap wood and cut-offs into one 4’x5′ space.

It rolls too

There’s a decent amount of work still to be done on the garage before it reaches our ultimate ideal but that’ll have to wait for Part 2 . . .

Burl Bowl

This was a weekend project that turned out to be pretty cool. I was leaving my parents house a month or two ago and saw out of the corner of my eye a piece of wood down in the gully that was cut off of an extremely large Red Oak. I suppose I was subconsciously looking for burl wood and this piece had two or three small burls in it so I decided to grab the whole thing and take it home. I wasn’t sure what I was going to make or if it was rotten through (it was kinda wet and we’ve been getting non-stop rain) or if it would even look as cool as I thought.

I mostly just wanted to start cutting into it and see what it looked like so, chainsawless, I pulled out the reciprocating saw and sliced off one of the burls from the main branch. Clamping it with my new Jawhorse I got to work boring out the burl with an angle grinder to start making a bowl shape. It was at this point that I realized this piece had more than just some interesting grain patterns, it looked almost like a Van Gogh painting. It had bark inclusions, spalting and grain swirls that rivaled “starry night“.

I was originally going to leave the bark on the outside but I decided to start taking it off partially because it was beginning to rot a little and alternatively, I had to expose that fascinating wood figure.

Roughed out the exterior after removing bark

The result was fascinating so I began shaping it a little more into something that would be passable as a bowl (wished I had a lathe) without sacrificing too much material. I sanded the hell out of the thing and in an effort to just let the wood do the talking I put only a coat of mineral oil on it.

It looks spongy or like a loaf of bread, but I assure you it’s solid and smooth as glass

Headboard

Had I known how much of a hassle this project was going to be – I never would’ve done it.

But here we are.

It all started at the Habitat Restore Warehouse with an impulse purchase of a very very old solid fir five panel door. I must have subconsciously known how awful it was going to be to deal with because it sat in the garage for over a year. It seemed simple enough – remove the old paint and mount on the wall.

After two chemical peels with industrial strength paint stripper and days of scraping later – I realized this door was so old it had seen 4 coats of paint (some of which was sure to be lead containing) and a bottom layer of shellac (the first finish I presume). Most of the layers of paint came off albeit laboriously, however 100 year old shellac is the stuff of nightmares.

Lots of wasted sandpaper later, after removing everything from the door (on both sides) we finally mounted some crown molding on the top and stained the whole thing. This is where I messed up. I failed to adequately remove the excess stain and created an off-gassing catastrophe. After almost a week I decided to try and ignore it and we brought it inside, installed some sweet reading lights and mounted it on a cleat attached to the studs. But the smell remained.

Eventually I had enough and took it back out to the garage to brush on (and wipe off) several coats of paint thinner, which eventually removed the excess stain while still retaining 90% of the color. After another final week of indoor drying (damned persistent rain) it could finally be rehung and my sanity could be restored.

Decorative Bowl

Another project, another woodworking technique to add to my tool belt. I bought an angle grinder and bur disk to grind out a bowl from a leftover block of beech I had (it’s all gone now I promise). Because I neglected to see how thin the bottom was becoming, I ended up creating a tiny hole which I then turned into a leaf shape and played off like I meant to do it from the beginning.

Some sanding and polyurethane and X-mas gift #2 was complete.

Cutting board

Aside from building a mallet one of the most common Woodworking 101 projects I see are cutting boards. I decided I would make one for an X-mas gift with leftover oak/poplar I had. It is in an end-grain orientation and sits on 4 rubber feet.

FYI, sanding end-grain sucks.

Deck Gate

I built this one Sunday to keep so Charley could be contained outside somewhere. This picture doesn’t include a final slat that I neglected to put on prior.

It’s built from basic pressure treated pine lumber and does the job.